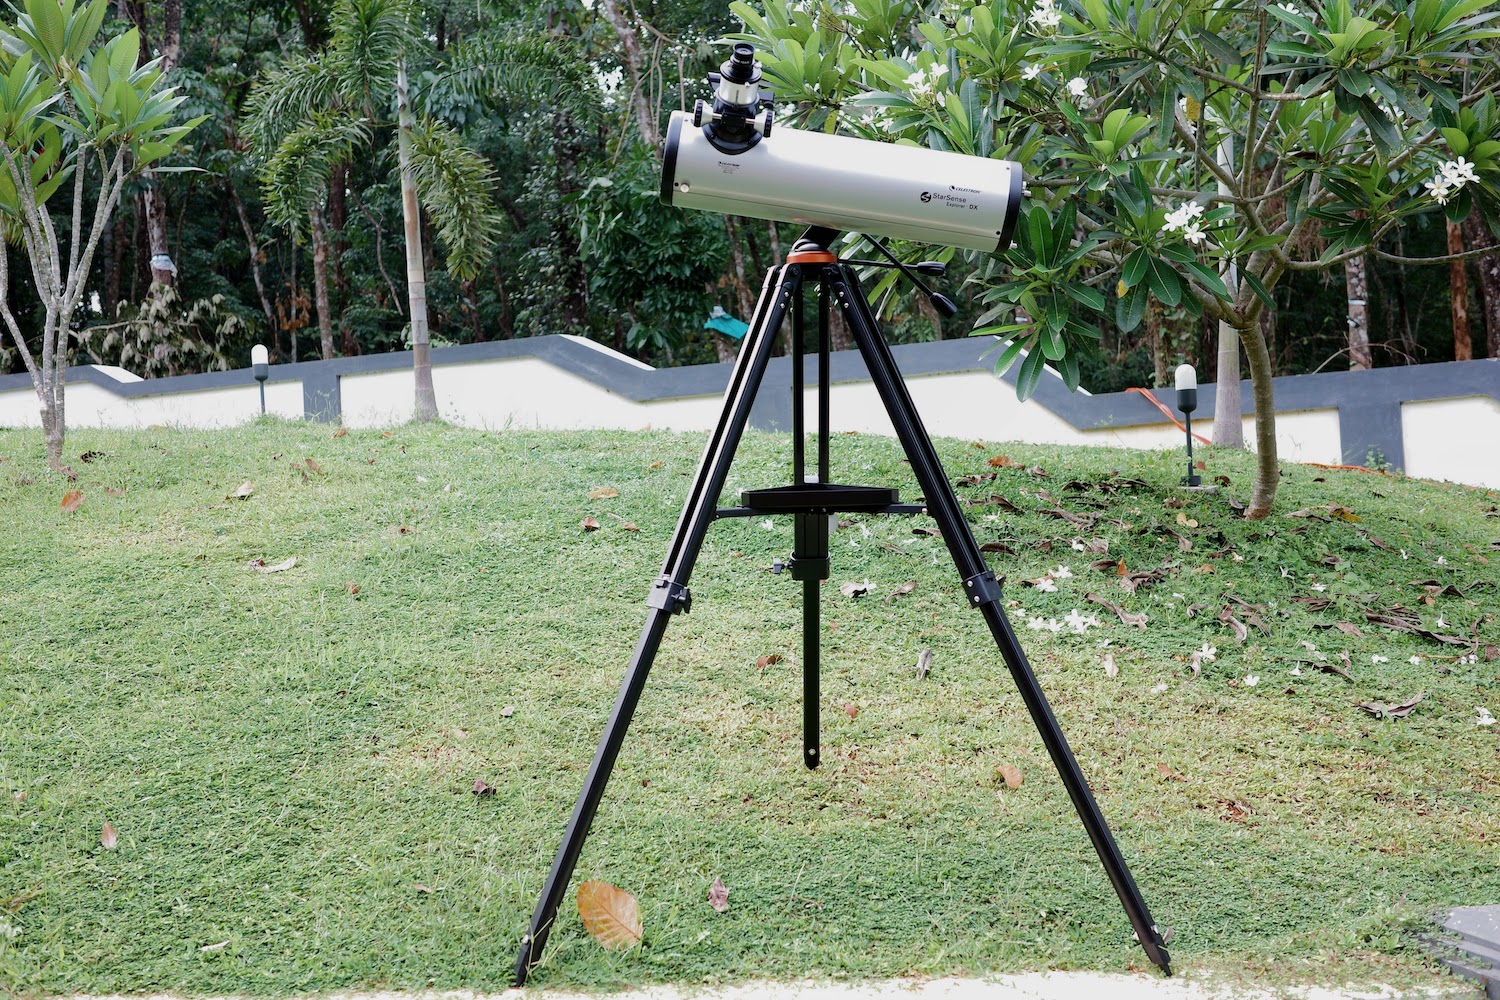
Celestron StarSense Explorer DX 130AZ Reflector Telescope
₹38,799.00
The Celestron StarSense Explorer DX 130 AZ is a nice beginner scope and offers plenty of features, but its value proposition is a bit weak given the super-wide field’s negation of any kind of need for computerized assistance, combined with the availability of larger and/or more-accessorized telescopes at the same or even a lower price.
Description
Celestron’s StarSense Explorer DX 130 AZ is one of the various telescopes under the StarSense Explorer line. It shares the mount, accessories, features, focal length, and more or less performance of the StarSense Explorer DX 102mm AZ refractor, albeit without the former’s balance issues with 2” eyepieces or chromatic aberration at high magnifications.
The StarSense Explorer DX’s hallmark feature, of course, is its use of the StarSense Explorer technology – turning your smartphone into a guidance system to aim the telescope manually around the sky. This is obviously the biggest selling point of the rig. The larger StarSense Explorer Dobsonians definitely take more advantage of the system, however.
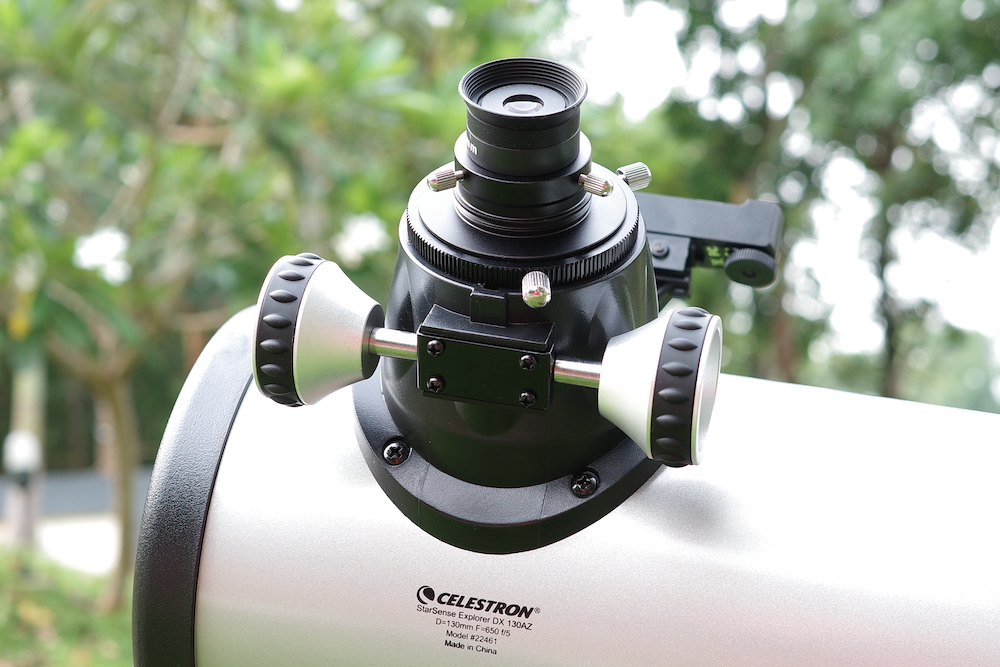
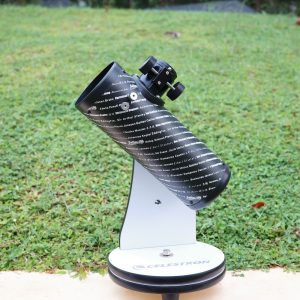
Optical Assembly
The StarSense Explorer DX 130 AZ uses the same optical tube and fittings as other 130mm reflectors from Celestron and most 130mm f/5 Newtonian and Dobsonian telescopes sold on the market today.
A fast Newtonian reflector such as the DX 130AZ with a focal ratio of f/5 expectedly shows coma at the edge of the field of view when we use a wide-field, 2” eyepiece. However, at such fast focal ratios, I believe the aberrations caused in lower-quality wide-angle eyepieces by the angle of the light rays are the bigger problem. This manifests mainly as edge-of-field astigmatism, which looks a lot like coma but actually has to do with the eyepiece used.
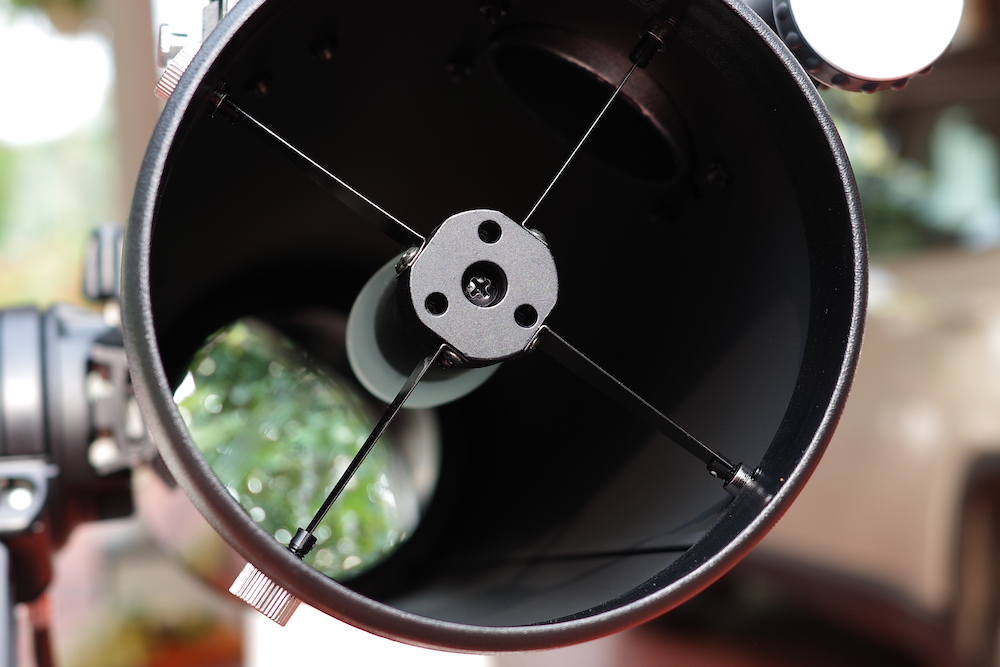
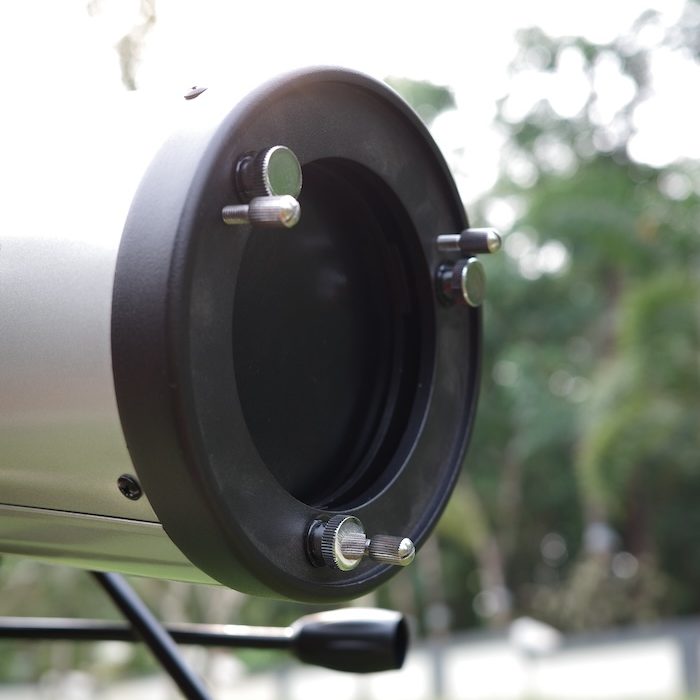
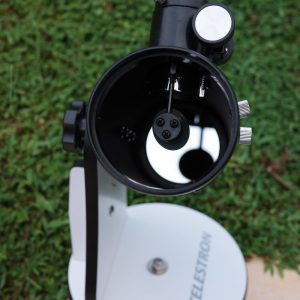
Collimation Requirements
Being a Newtonian reflector, the DX 130 AZ does need to be collimated. But whether you’ll actually need to make adjustments often really depends on how well you treat the scope.
Collimation isn’t that difficult, but you will probably need at least a basic homemade collimation cap to do it. The primary mirror, which is usually what you will need to adjust, requires no tools. The secondary mirror can be tilted with a hex key (not included).
The StarSense Explorer DX 130 AZ attaches to its mount with a standard Vixen-style dovetail bar, which is a universally standard rail that fits many other astronomical mounts. But many such mounts won’t put the DX 130AZ’s eyepiece/focuser in a comfortable position, and you would need tube rings and a longer, separate dovetail bar to make the DX 130 AZ optical tube comfortable to use.
Portability
When removed from its mount, the DX 130 AZ’s optical tube can be easily fitted into checked-in baggage but is a little bigger to carry in a standard cabin-size suitcase.

The StarSense Explorer Technology & App
The StarSense Explorer technology is essentially a simplified version of the popular astrophotography and research technique of plate solving.
The StarSense Explorer technology uses only a few snapshots of the sky (taken via your phone camera with a smartphone bracket attached to the mount) and then guesses where you’re pointed using your phone’s internal gyroscopes. The app has a catalog of thousands of deep-sky and solar system objects and will provide simple instructions for alignment and where you need to move the scope in the sky to locate your target.
Even a poorly set-up StarSense Explorer will have an accuracy of a degree (two full Moons) or less, which will get your target in the field of view at low power. With good alignment, we’ve even gotten an accuracy of ¼ of a degree or so.
We’ve often noticed that the more well-leveled the tripod is, the more accurately the phone bracket is aligned to the scope.
Accessories
The StarSense Explorer DX 130 AZ comes with two mysterious, mostly-plastic eyepieces (usually marketed as either “Super” or Kellner variants), both of which are 1.25” and feature fields of view of around 55 degrees. These are, in fact, Konig eyepieces with glass lenses.
While their performance is not perfect for a fast scope like the DX 130 AZ, they are quite good.
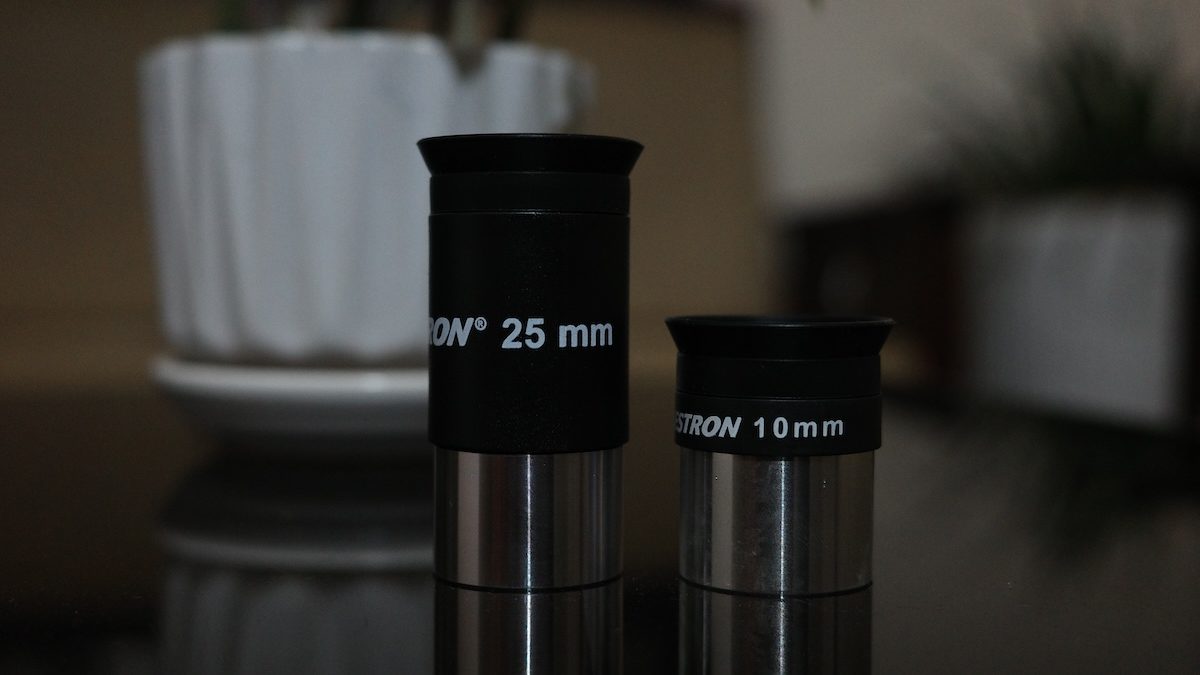
You’ll almost certainly want additional eyepieces—mainly at the higher end. We usually get optimal planetary views at 100x or above, and a 5” telescope can handle up to 250x magnification. But we’d say the two included oculars are a good start.
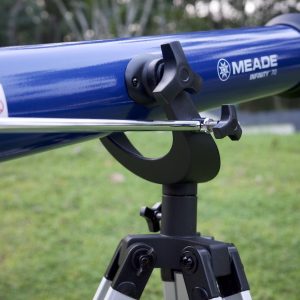
Any telescope needs a finder, even if it’s computerized, and the StarSense Explorer DX 130 AZ is no exception. A standard “StarPointer” red dot finder fitting into an interchangeable Vixen/Synta-type finder shoe is provided and works well for aiming the scope with or without the StarSense Explorer app activated.
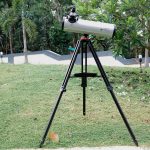
Mount
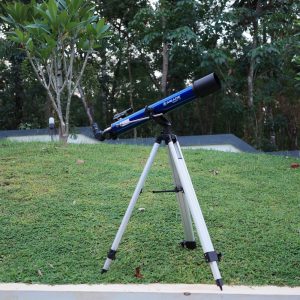
The StarSense Explorer DX telescopes both use a simple, generic “AZ3” mount, sold, rebranded, and repackaged by several different companies, attached to a standard square-tubed aluminum tripod.
There are slow-motion controls on both axes. But making fine adjustments with them was difficult for me as the gearing has a lot of slop and backlash. This takes some getting used to.

Extending the tripod legs also tends to make for a less-than-stable setup. I figured that keeping the legs retracted and observing while seated would be a good idea.
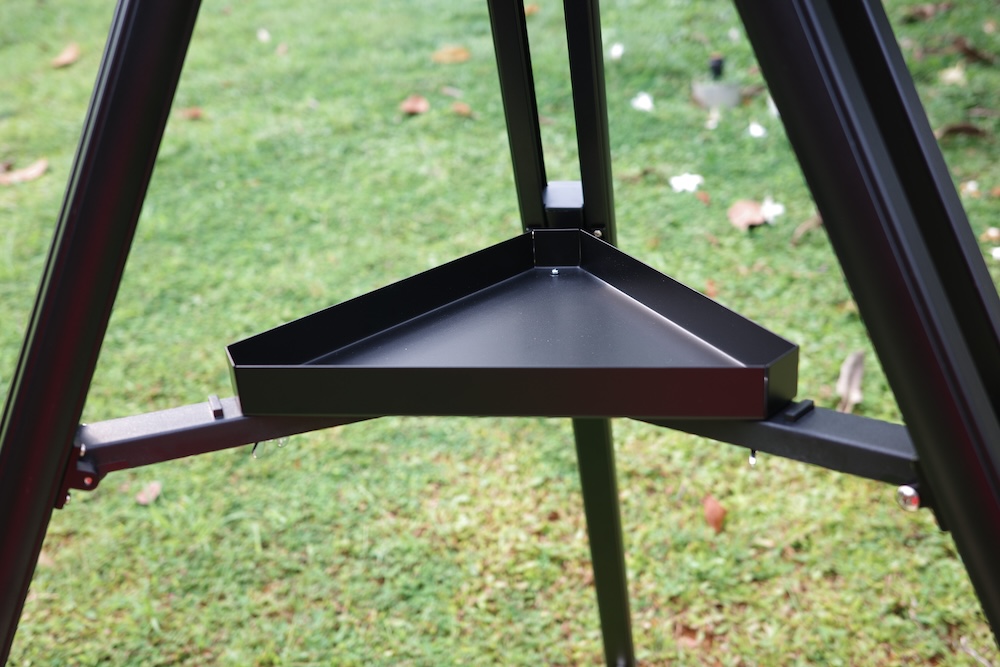
The tripod comes with a hefty accessory tray that’s actually useful, with plenty of room for your eyepieces, filters, flashlight, and other tools.
What can you see with the Celestron StarSense Explorer DX 130?
A 130mm reflector can show you a lot, especially under dark skies, and the StarSense Explorer technology makes it very quick to find a lot of objects to see even in a short amount of time (though the longer you linger on a target, the more you’re likely to see).
The StarSense Explorer DX130 will, of course, show you the phases of Venus and Mercury, the ice caps on Mars, and the rings of Saturn. You’ll also be able to see lunar mountains, a few dark markings and dust storms on Mars’ surface, Jupiter and Saturn’s cloud belts, the Great Red Spot in Jupiter’s clouds and the Cassini Division in Saturn’s rings, and the four large Galilean moons circling Jupiter. The Galilean moons appear as tiny disks when they transit across Jupiter and have dark shadows following them as they simultaneously cast eclipses over Jupiter’s cloud tops. Saturn sports up to half a dozen moons.
In almost any telescope, Uranus is merely a greenish-blue fuzzy dot, and its moons are beyond the reach of only a 5” aperture. Neptune may be hard to distinguish from a star at all due to its tiny angular size, but you should be able to locate it with the StarSense Explorer app, and its moon, Triton, is just barely bright enough to be within the DX 130’s grasp under optimal viewing conditions.
The quality (and number) of deep-sky objects you can view with any telescope is, of course, dependent on your light pollution conditions. Even under light-polluted city skies, however, the StarSense Explorer DX 130 AZ can show you bright open and globular star clusters. Under suburban skies or better, emission nebulae like Orion (M42) or the Swan (M17) come into their own, especially with a UHC filter, and open star clusters become jaw-dropping. A 5” telescope like the DX 130 AZ can also begin to resolve the outer members of the brightest globular star clusters like M13, M22, and M15, or show you dust lanes in galaxies like M31, M82, and M64. You’re not going to be seeing spiral arms in any galaxies, however, and even the most obvious details like dust lanes will be hard to spot under light-polluted conditions.
For really jaw-dropping—or at least recognizable—views of galaxies and globular star clusters, you do need a bigger telescope than a 130mm. It’s up to you whether to decide on using the StarSense Explorer DX 130 as a stepping stone up to those bigger instruments or to plunge right into a big Dobsonian at first—keep in mind that Celestron offers the StarSense Explorer tech with well-made 8” and 10” Dobs too, either of which will blow away the DX 130 under any conditions in all kinds of viewing.
Keep in mind that when first using the StarSense Explorer DX 130, you’ll want to make sure to set your phone screen to dim (and hopefully red) to preserve your dark adaptation and to always get away from any other nearby sources of direct light if you want to be able to see deep-sky objects in detail.
Reviews
There are no reviews yet.